This is a sponsored post written by me on behalf of Cricut for Cricut. All opinions are 100% mine.
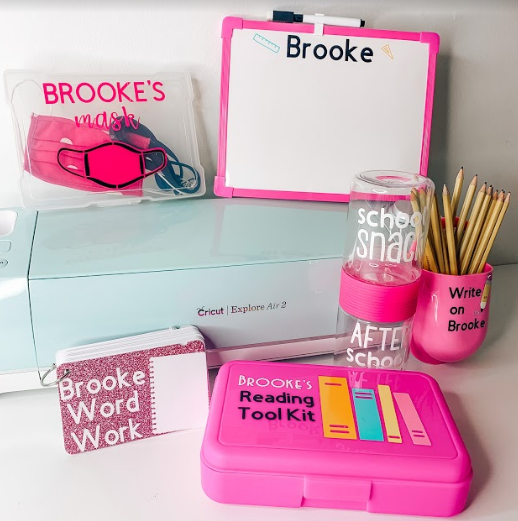
It is back to school time, and now more than ever it’s essential for students to have their school supplies personalized! Covid-19 has forced teachers and parents to think more outside the box than ever before. This year an obstacle that many schools face is students being unable to share mutual school supplies. This means students must have all of their own individual school supplies. Those school supplies must also be clearly labeled with their name to avoid any confusion and cross-contamination. If you haven’t guessed it already, I am here to show you how personalizing those supplies can be so much fun using the Cricut Explore Air 2! This blog post will walk you through how I personalized my daughter’s school supplies to have them labeled and ready to go for this school year! So grab your Cricut supplies and let’s get to crafting!


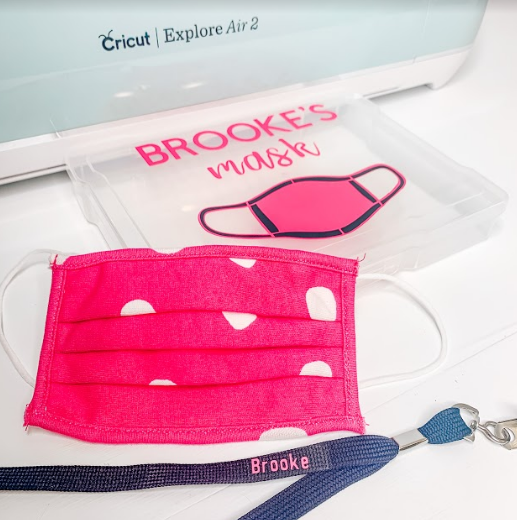
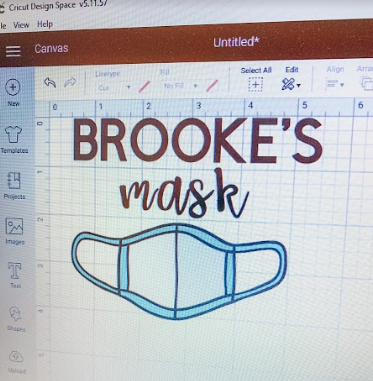
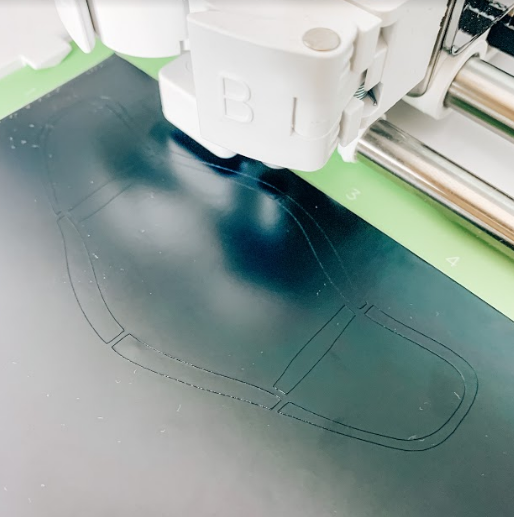
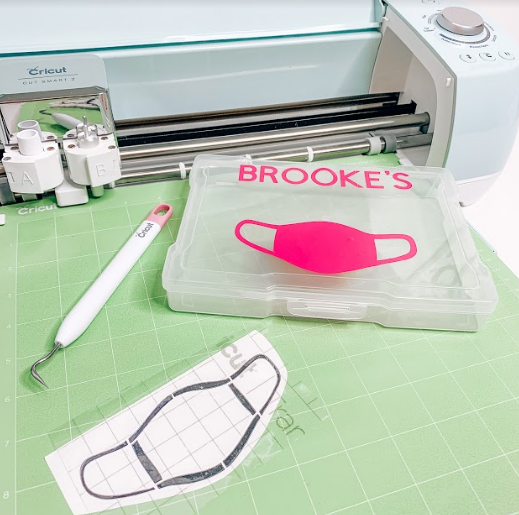
With students needing to wear masks in the classrooms, it’s a great idea to get your child a mask case. I grabbed this 5×7 photo case from Michaels for under $3 and it’s the perfect size to fit a child’s mask. I also created a personalized lanyard for times when my daughter would have her mask with her but not necessarily wearing it (i.e. a mask breaks/outside/eating lunch). To do this I went into the Cricut Design space and used the text box feature to add both her name and the word mask. I then searched the image gallery in order to find a picture of a mask. By the way, the Cricut Design Space contains over 10,000 free images to use so your options are endless! I then let me Cricut Explore Air 2 do the work of cutting out the premium vinyl for me!
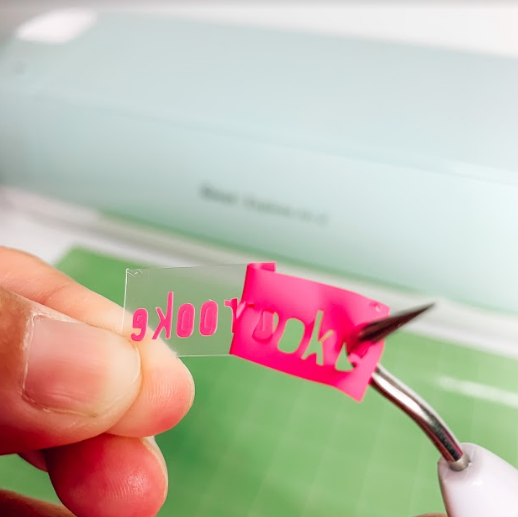
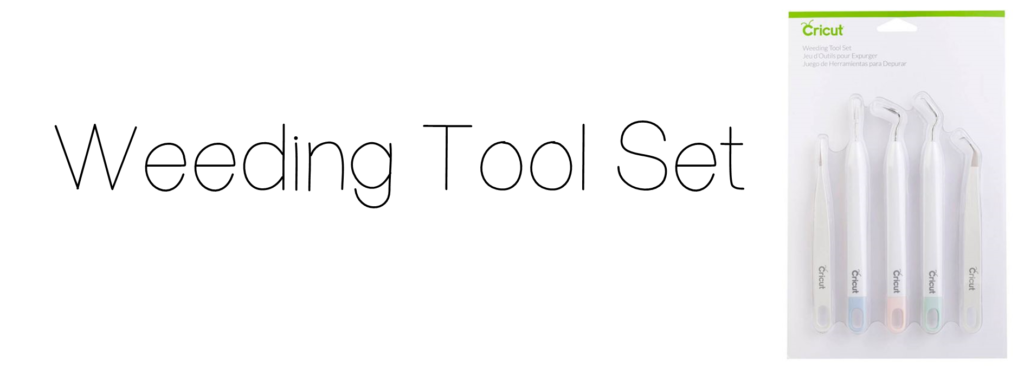
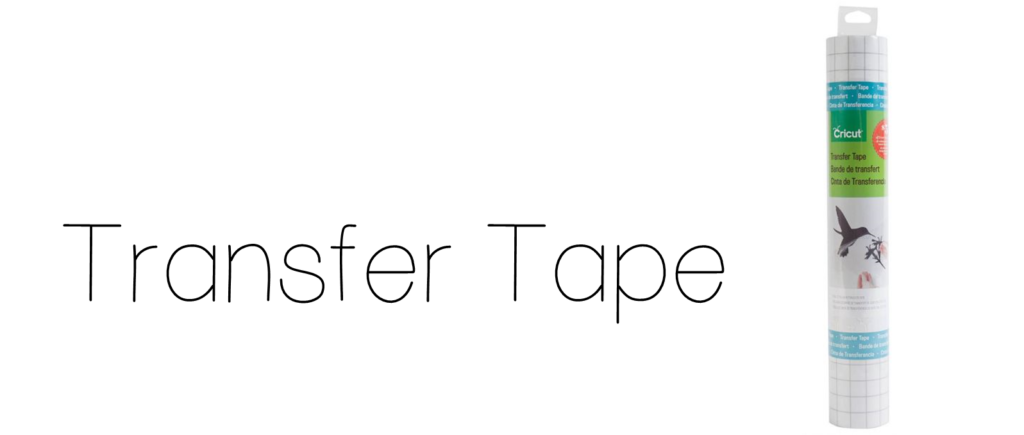
After the vinyl was cut I used my weeding tool to remove all excess vinyl from the design. Then using Cricut’s transfer tape I was able to move my vinyl onto the case easy peasy! Next up was the lanyard.
I found the lanyard in Target’s Dollar Spot, and used my EasyPress Mini to iron her name onto it. The EasyPress Mini is one of my favorites to use because it’s so compact that you can use it for virtually anything! Be sure to use the Everyday Iron-On vinyl for this one and not the regular vinyl, a classic mixup if you aren’t looking closely at your vinyl! I also can’t stress enough how useful the weeding tool set is in getting the small pieces of vinyl separated. Using Cricut’s Heat Guide I was able to easily look up how long I needed to hold the EasyPress Mini on the lanyard.
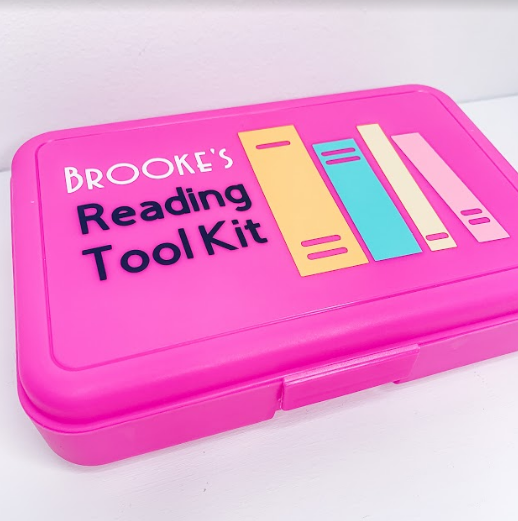
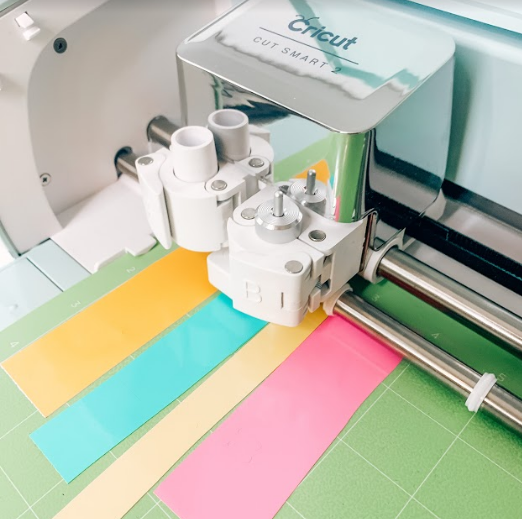
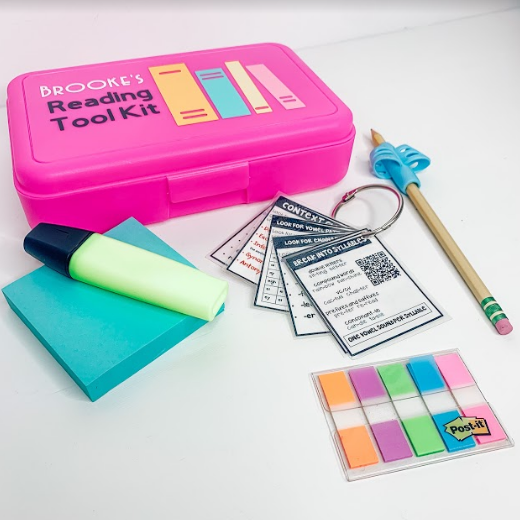
Next up was a reading tool kit! There are so many supplies that students use for reading, so I wanted to keep everything organized in one container. Following the same steps as the mask case, I was able to use the Cricut Design Space to find images of books, as well as add text boxes for Brooke’s name and the label Reading Tool Kit. One trick that I often do when cutting designs in multiple colors is I use left over vinyl scraps from previous projects. As you can see below, the scraps I used were the perfect size for the books to each be their own bright color! This project also required transfer tape to move the vinyl onto the container.
Here is a list of the supplies to be stored in the Reading Tool Kit!
- Post-it notes
- Highlighters
- Post-it tabs
- Pencils
- Pencil Gripper
- Reading BUNDLE which includes Reading Strategies QR Codes, Comprehension Stems, Book Level Targets

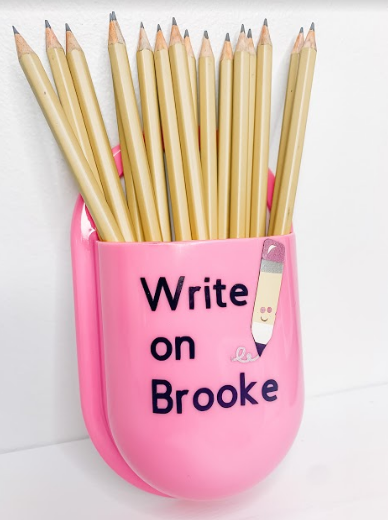
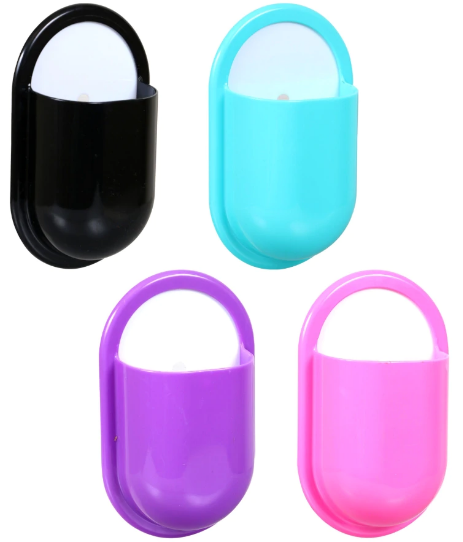
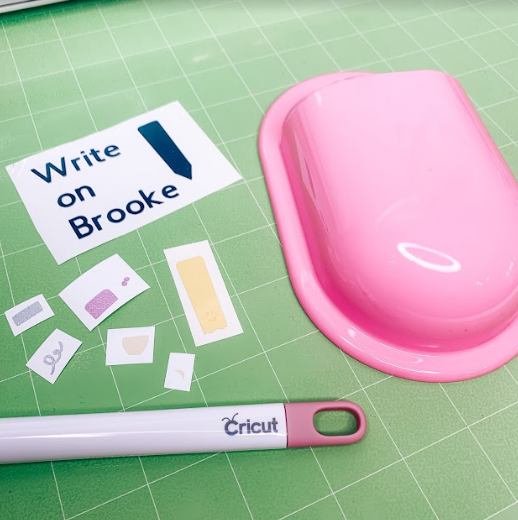
One of my favorite finds was this Suction Cup Pencil Holder from the Dollar Tree! This will be a great holder for students to suction to the sides of their desks. Or, if students are learning from home it can easily be suctioned to many surfaces within a home! Using the Cricut Design Space Gallery I was able to find an adorable image of a pencil to use for this project. And who doesn’t love a good pun, am I WRITE? 🙂 Again the weeding tool set was essential for this design as the pencil had multiple layers of vinyl to give it a colorful look! Hopefully this pencil holder will encourage Brooke to WRITE ON!

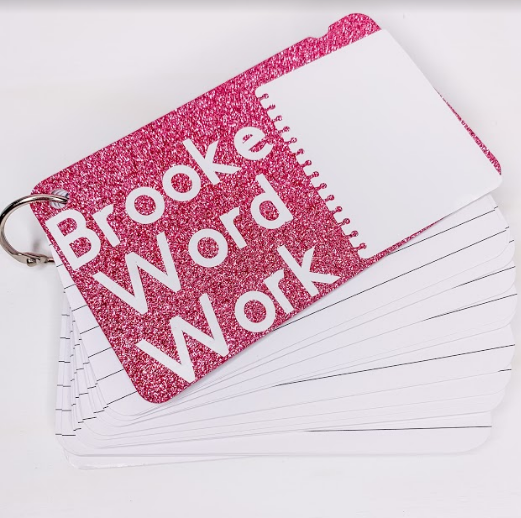
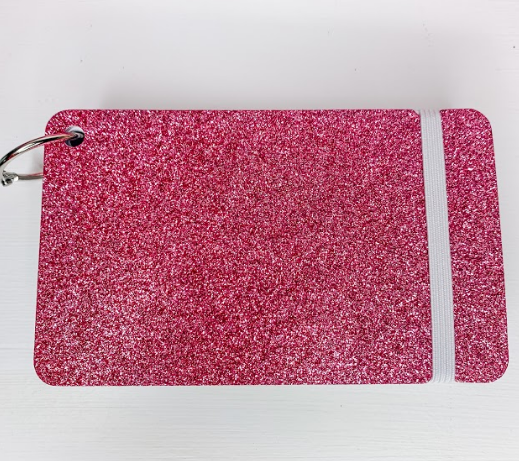
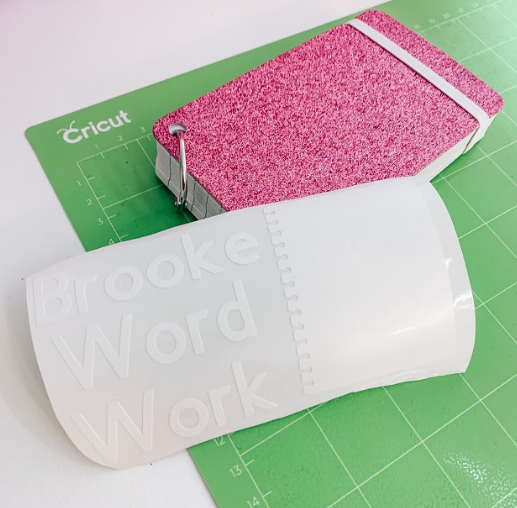
Another supply my daughter needed was a small notebook to use for word work. She will be recording things like the letter of the day and drawing pictures to match each letter. This hand held notebook from the Dollar Tree is such a great notebook because it’s compact and pages can be added or removed when needed! Since the notebook has a pink glittery top I thought it would be cute to add some bright white vinyl to really make it pop! Again, personalizing school supplies is so easy when using your Cricut!

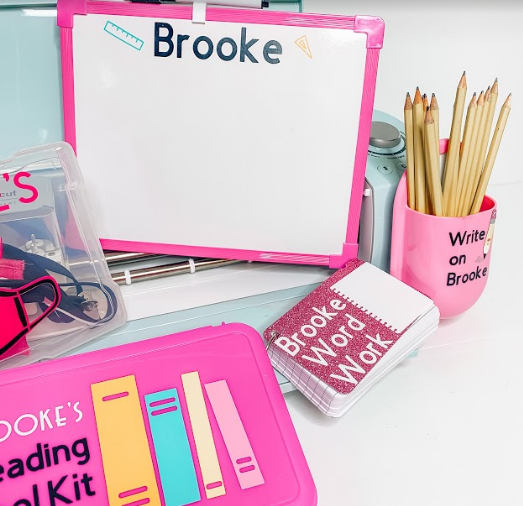
Next up is this adorable miniature whiteboard from the Dollar Tree. Typically students would be able to take turns coming up to the class whiteboard, but this year students won’t be able to touching the whiteboard markers/board. It will be so convenient for students to have these small white boards and they can keep them right in their desk. Because these whiteboards will primarily be used to show their math work, I decided to find a triangle and ruler image from the Cricut Design Space to add onto it. I actually loved these whiteboards so much I purchased two so my daughter could have one at home and one at school.

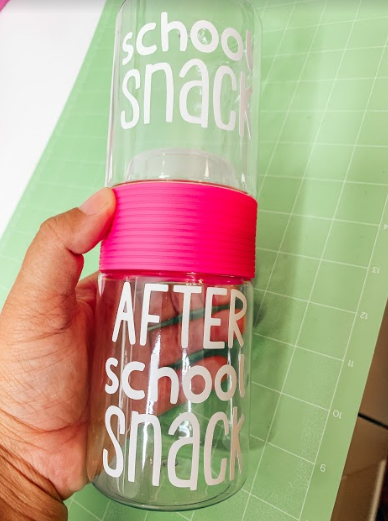
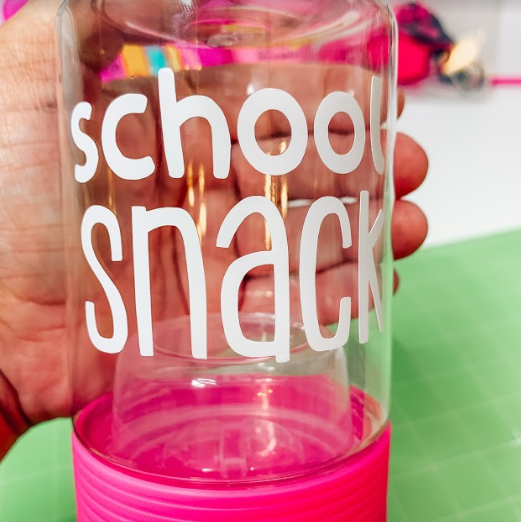
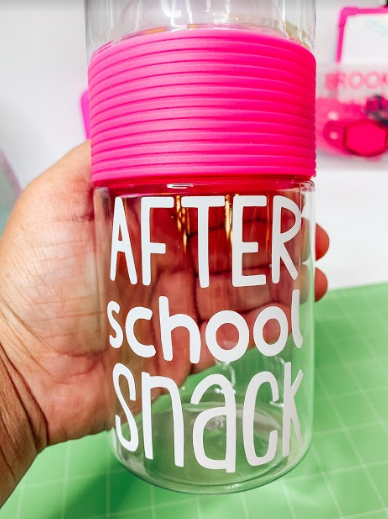
Okay now this container I absolutely LOVE! And yes it was another Dollar Tree find haha! This snack container has two twist-able sides, as well as a small container inside that can hold dressing or a dip! I immediately knew this would be the perfect snack container for school! With a little bit of vinyl I labeled one side for Brooke’s school snack, and the other side for her after school snack! I really love the way the white vinyl contrasts with the color of snacks when the container is filled!
Although this school year will no doubt look different, personalizing school supplies is a great way to get kids excited about returning to school! Whether it’s in person, hybrid, or virtual, kids will love having their names along with beautiful designs on their school supplies. So enjoy creating and designing with your Cricut, and make sure to follow me over on Instgram @thelimitlessclassroom to see more ideas for how I use my Cricut to craft all the things!
