Hosting an indoor campfire is one of my FAVORITE ways to get students engaged in the classroom during the winter months! In this post I will walk you through all of the steps for creating the perfect indoor classroom campfire. I will also show you how to use it as an incentive for students to be doing their best work! I pair my campfire with a classroom favorite… CAMPFIRE COUPONS that will make your indoor campfire function as a behavior/hard-work rewards earn!
commission when you purchase something using the links provided.
SUPPLIES
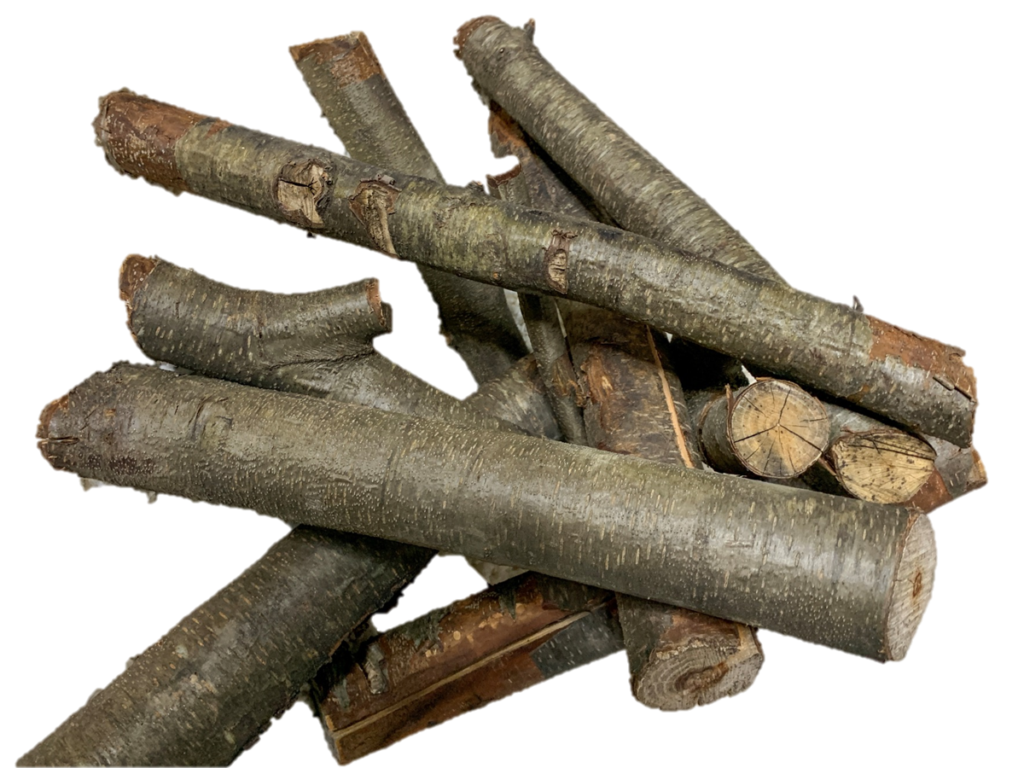
*Firewood– I would suggest getting REAL firewood from your yard, or ask for a few pieces to be donated from a local place in your community that sells it.
*Orange Christmas Lights– These can be found cheap right after Halloween as most stores have them for 50% off. I purchased mine at the local grocery store, but you can also purchase them on Amazon HERE. I would suggest getting lights that have green wire (instead of white) so that it blends in better with the campfire. It also makes the campfire look more realistic.

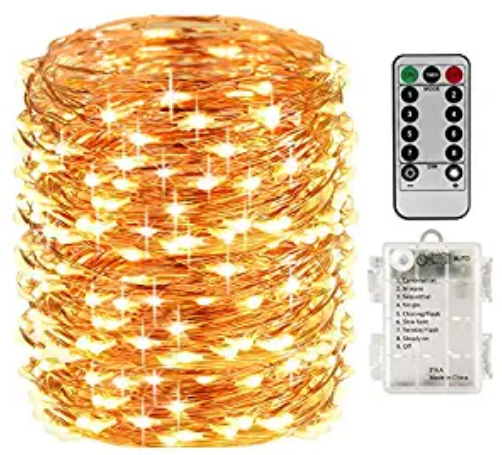
*Twinkling Wire Lights– I have 3 sets of these in my classroom (one set around my smart board, one set around my bulletin board, and one set for my campfire). These lights are what really bring an indoor campfire to life because they twinkle! The lights are battery operated, and you can choose a setting for the pace of the twinkling. This truly makes the campfire appear real since it becomes interactive! You can purchase the twinkling wire lights on Amazon HERE.
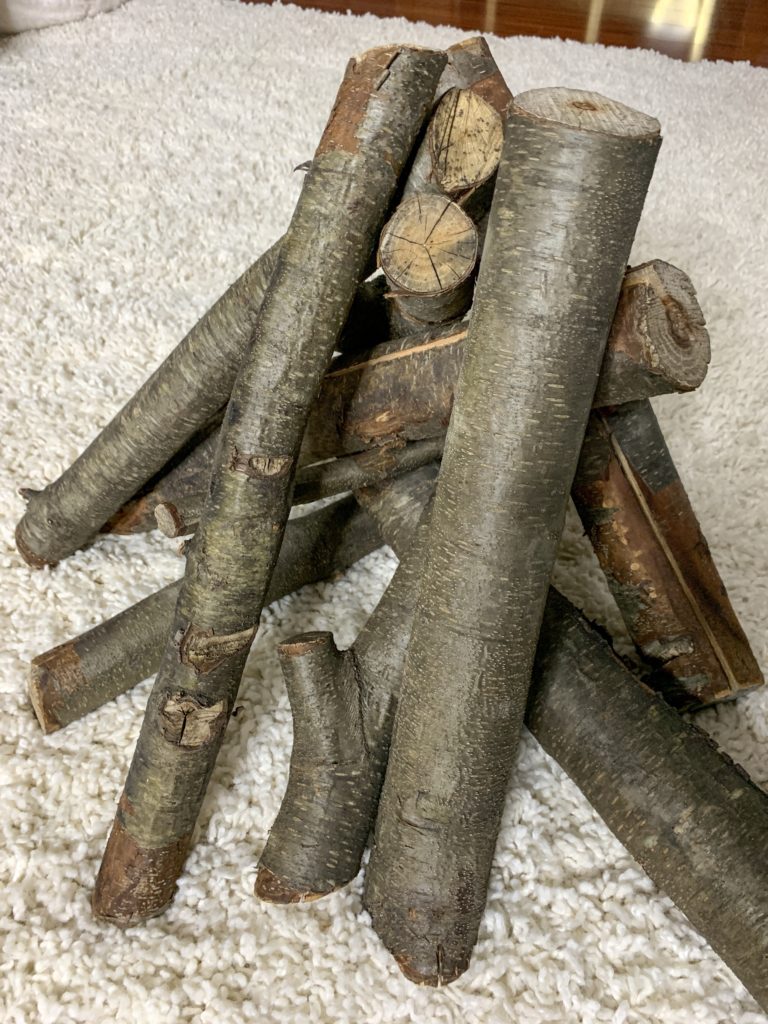
STEP 1 Choose a location and position the firewood.
When choosing a location it is important to think about finding an area that is
1. CLOSE TO AN OUTLET
2. NOT IN A HEAVY TRAFFIC AREA WHERE STUDENTS MIGHT ACCIDENTALLY TRIP OVER IT WHILE TRANSITIONING
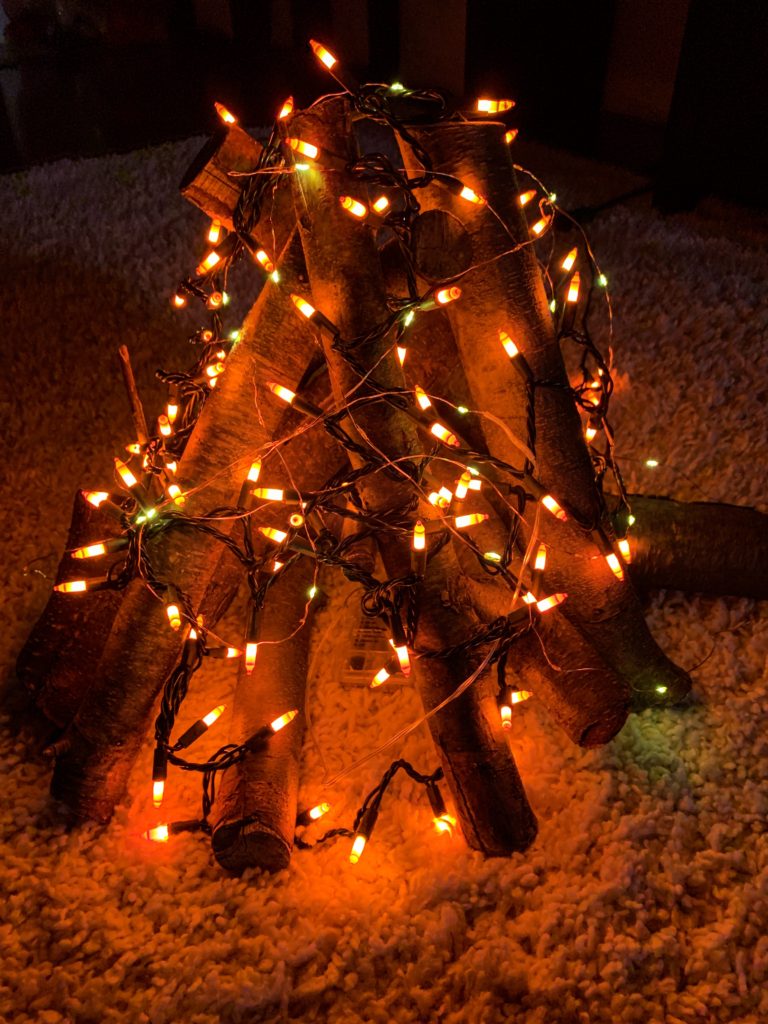
Begin by plugging in the orange Christmas lights first, so you can ensure that your fire placement is not too far away. Next, begin leaning the logs up in a tent-like formation. It helps to have one log almost horizontal through the middle so that the other logs can prop up against it.
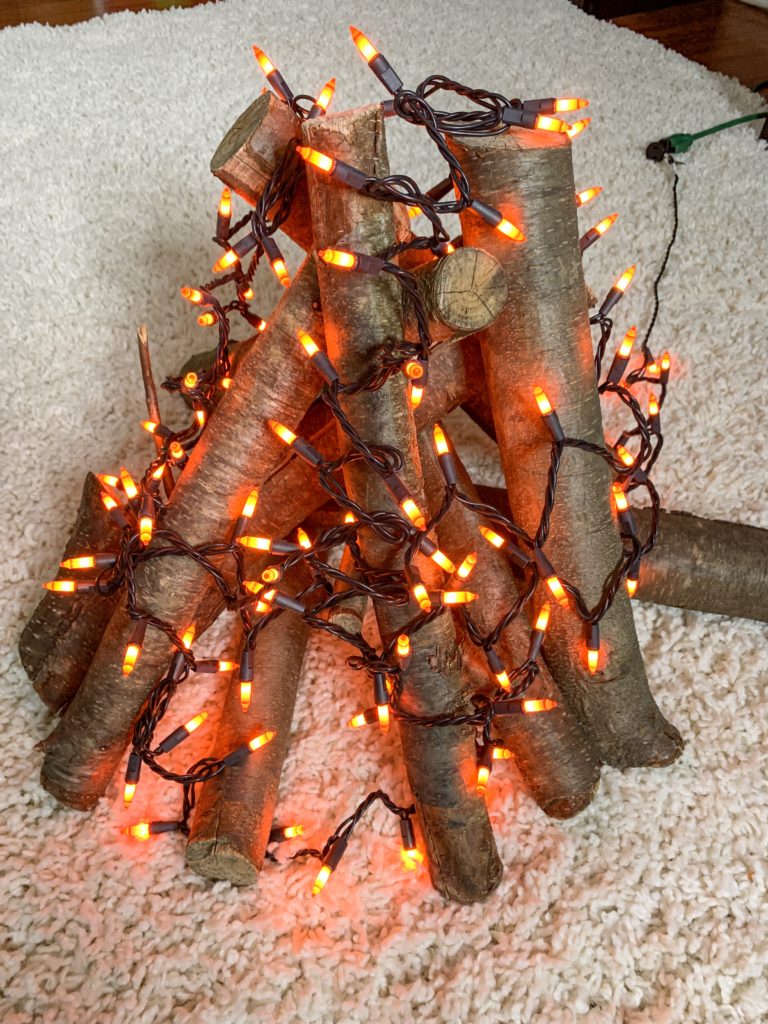
STEP 2 Wrap the Orange Christmas Lights around the campfire.
When wrapping the orange lights there is no right or wrong way to do it! Carefully weave the lights around the fire, looping them through some of the logs. Try your best to have the lights evenly dispersed around the wood for the most realistic look. If you notice that some of the lights on the string go out, tighten the lights located right before the ones that have gone out, as sometimes a loose light can cause an outage to happen.
STEP 3 Wrap Twinkling Wire Lights around the campfire.
These lights are on a very thin wire, so you will want to do this slowly! Follow the same process as above with the orange Christmas lights. Once the lights have been wrapped around, you can tuck the battery pack into the middle of the fire through any small opening. The battery pack has a label that will guide you through determining what pace you want the lights to twinkle.
STEP 4 CAMPFIRE COUPONS
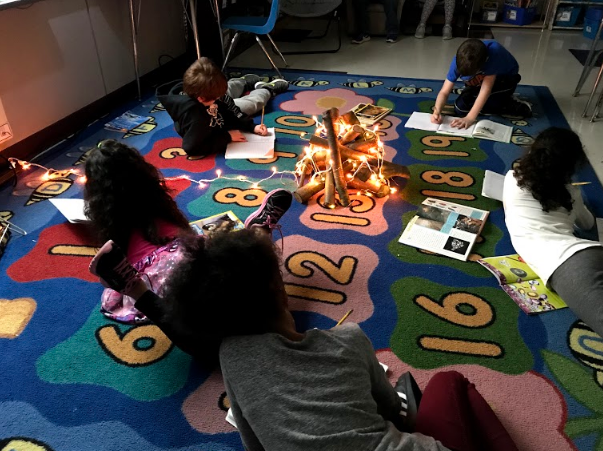
The children always love the campfire so much, that once it is introduced I like to leave it up in the classroom for students to enjoy throughout winter. I actually use the campfire as somewhat of a behavior/work incentive. I created campfire coupons that students can earn as rewards when they are on task, working hard, trying their best, or being kind etc. When I see students exhibiting these behaviors I give them a campfire coupon! The campfire coupon earns them time to “work by the campfire” during independent time. This essentially means that if a student earns a campfire coupon, they are able to trade it in for a spot to sit around the campfire while doing their work. Students often will choose to use their coupons so that they can read around the campfire during independent reading/stations. They also love to use their coupons to write/solve math problems around the campfire while working on a clipboard. There are so many options for the type of work they can do around the campfire! You can download the campfire coupons HERE! They are also EDITABLE allowing you to decide how and why students should earn time to work around the campfire!

STEP 5 Add a fun snack!
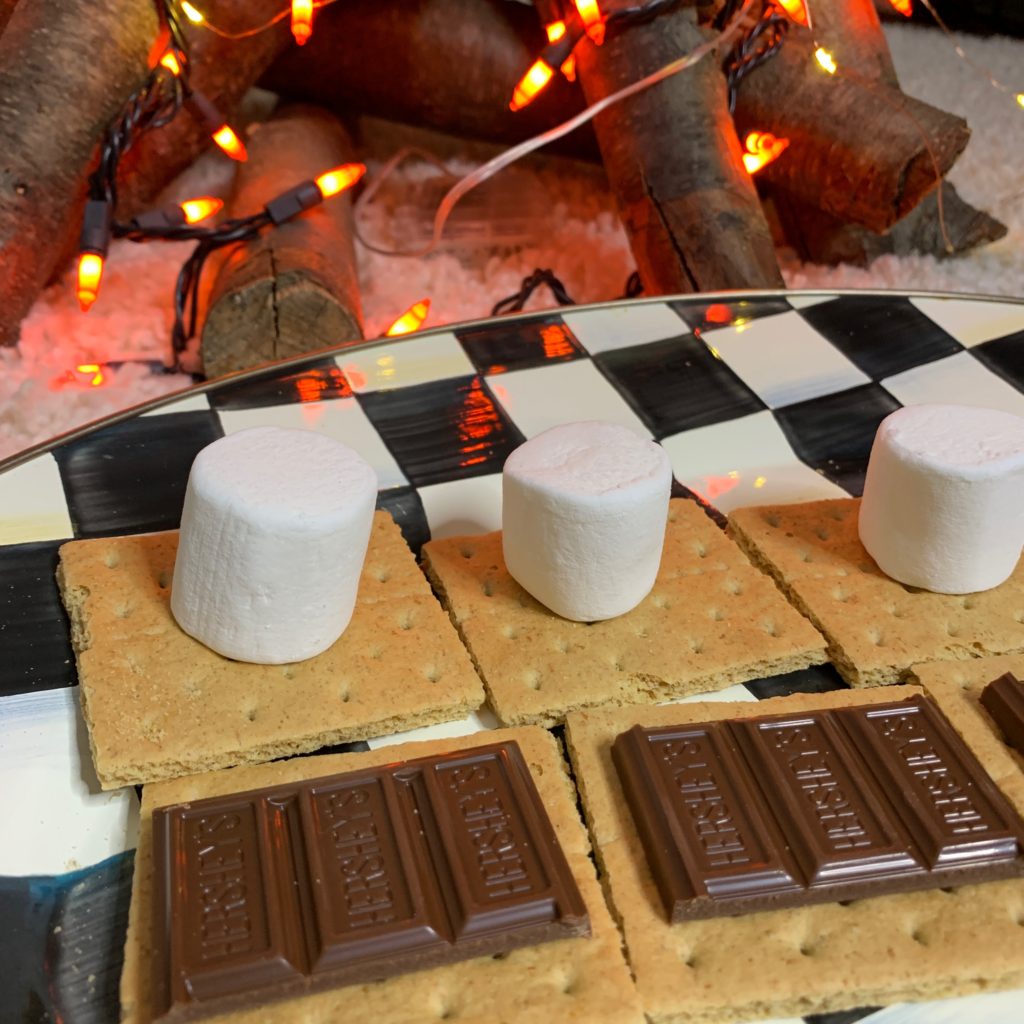
If you are having a campfire, then it only makes sense to provide every campers favorite snack…SMORES! Put together a tray of graham crackers, chocolate bars, and marshmallows to really give your students a special treat!
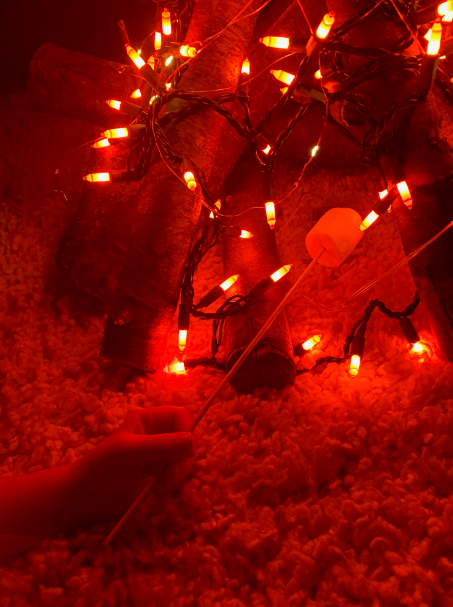
Not wanting the mess of smores? Keep it more low key by providing just marshmallows on Popsicle sticks! When I first introduce the campfire I give all of the students a Popsicle stick and tell them that they are going to read a special story around the campfire. I let them know that if they want to earn a marshmallow to roast on their stick, they must answer a question about the text correctly so they will want to make sure to participate! This is just a small way to keep kids engaged and participating in the story! I hope you all love your indoor campfire and have the absolute best time using it with your students! Make sure to find me on Instagram @thelimitlessclassroom to tag me in any pics of your classroom campfire! Have fun, and STAY WARM!
