This is a sponsored post written by me on behalf of Cricut for Cricut. All opinions are 100% mine.

As schools begin to wrap up from what was no doubt one of the craziest school years in history, I thought it would be fun to share one of my favorite educational crafts, the “Magic E” wand! In this blog post you will find easy-to-follow instructions for how to create your own “Magic E” wand using the Cricut Explore Air™ 2 machine. What is the Magic E wand/rule and why should students create their own wand? I am so glad you asked!
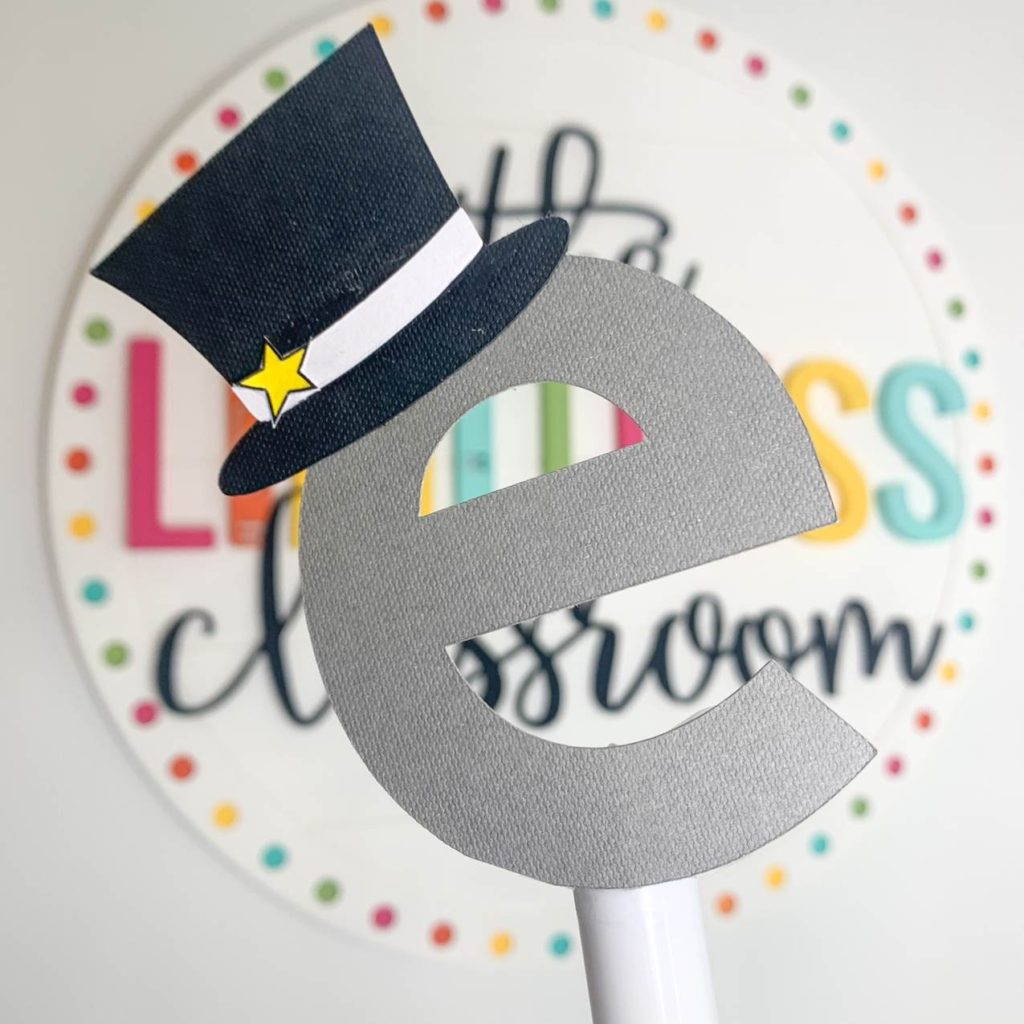
Magic E Rule: The magic E rule states that when the letter “e” is at the end of a word, it is usually silent and the “magical” E tells the first vowel (or the preceding vowel) to say its own name or long sound.
Understanding and learning the rules for vowels can be very challenging for students! Students not only struggle to read words because of all the different sounds in words, but they also have a difficult time writing the words. Students are taught that vowels can either have a long vowel sound or short vowel sound. The long vowel sound consists of the vowel saying its own name (such as the A in MADE makes the long A sound). The short vowel sound consists of the vowel making a short sound (such as the A in the word MAD). One way for students to determine when to make the long vowel sound vs. the short vowel sound is following the “Magic E” rule. In classrooms around the world, students even use a cute little “Magic E” wand that way they can physically change words to go from words containing a short vowel sound to words with a long vowel sound. By using the “Magic E” wand it allows children to see how the sounds change when the E is present and when it is not. Here are some pictures of my daughter using her “Magic E” wand in order to transform the word CAN to CANE.

Here is another example of how my daughter transformed TAP to TAPE. By holding and moving the “Magic E” wand herself she is able to clearly see how the E at the end changes the sound in the second word. Teachers refer to the E as magical! They state that the E has the ability to change words with a simple touch! This is something students can use both in and out of the classroom as they’re learning to read and write!

Here are a few more examples of words that can transform using the “Magic E” rule.

Creating a “Magic E” wand is really quite simple! I am going to walk you through how I used my Cricut Explore Air™ 2 machine to create one, and remember you can style your “Magic E” wand anyway you’d like!
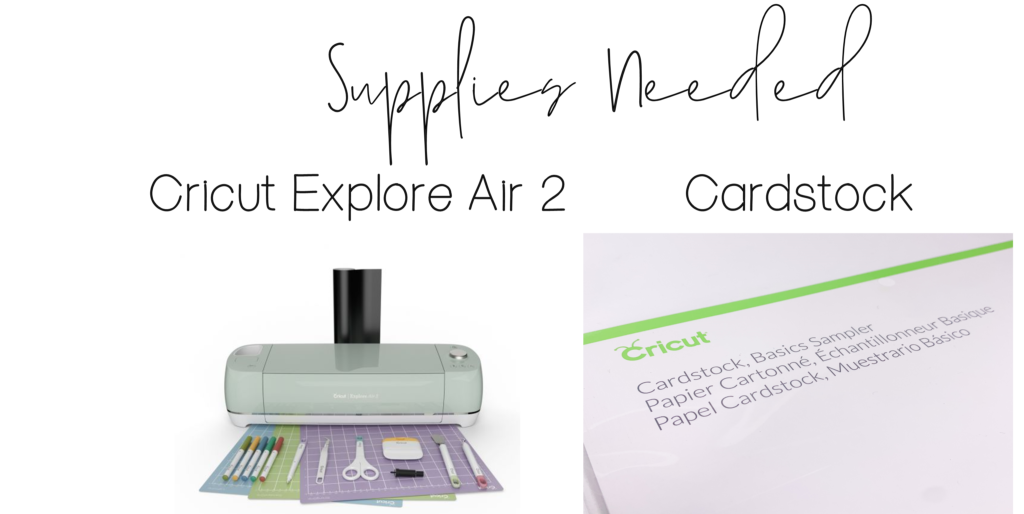
Here are the directions for how to recreate the same” Magic E” wand I made! I am also linking my Cricut Design Space template so you can head right over to the exact template I used if you’d like!

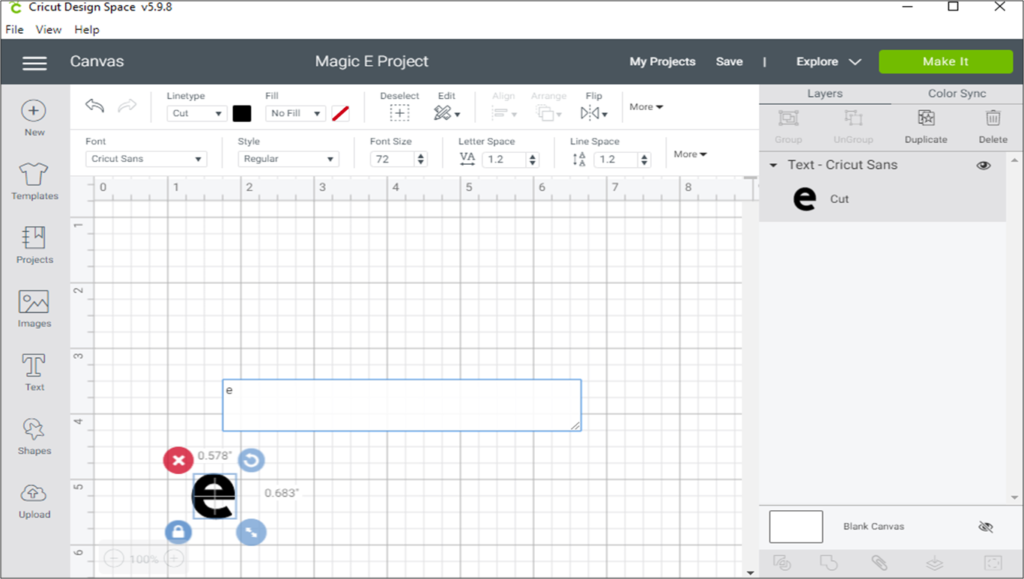
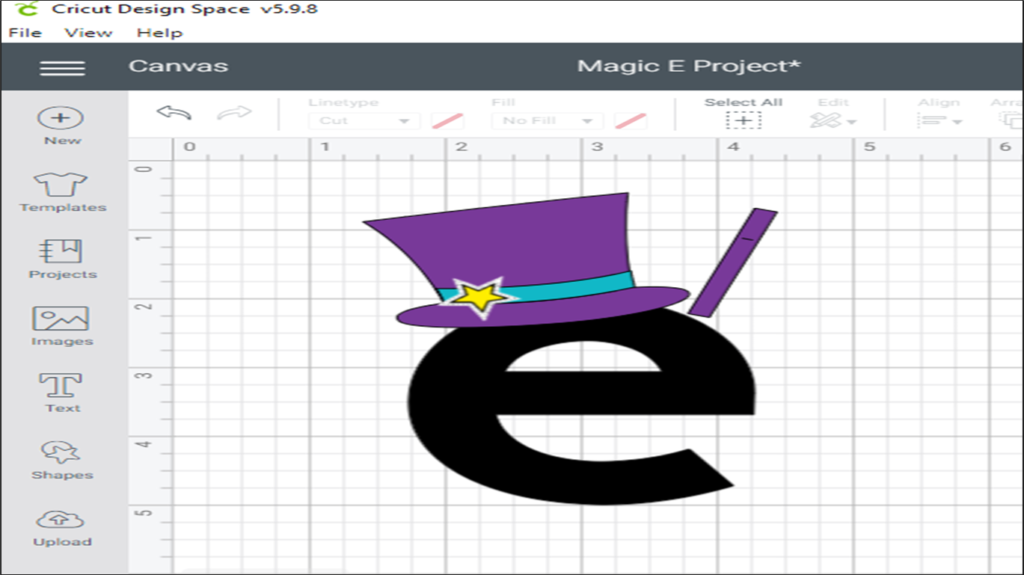
To begin open the Cricut Design Space. You will start by clicking the add text button (on the left sidebar) and then typing the letter E (be sure to type it in lower case). You can decide the font you’d like to use, however I do recommend just leaving the default font because it gives you a nice bold (easy to read) E which is perfect for young learners! Once you type your E in the Cricut Design Space it should look like this.
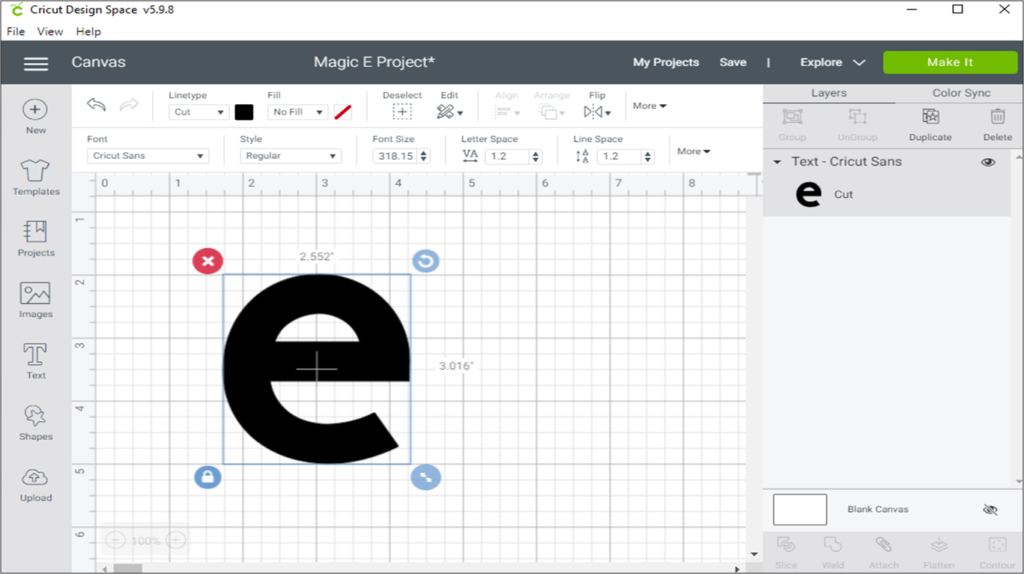
Next you will want to enlarge the E. I used the arrows on either side of the E to make it 3″ inches for the height. The size of your E should match the size of your child’s writing. My daughter just turned 4 so her print is pretty large and I wanted the “Magic e” to look proportional to the other letters.
Once the E is enlarged you’re ready to add the magic hat and star images. To find these images you are going to search the image database. You can do this by clicking the image button on the left sidebar. Because there are thousands of images within the Cricut Design Space, you can narrow down your search by typing “magic hat” in the search bar. This brings up only images associated with the words magic and hat! Once I found the image I wanted to use, I selected it and clicked the green insert image button.

Now that you’ve added the magic hat to your project, you can go ahead and resize/relocate the hat so it fits right on-top of the “Magic E.” I also wanted to add a small yellow star to make it look more “magical.” I followed the same steps as above by searching the Cricut Design Space for a star I liked, then resizing and placing it on the E where I wanted it.
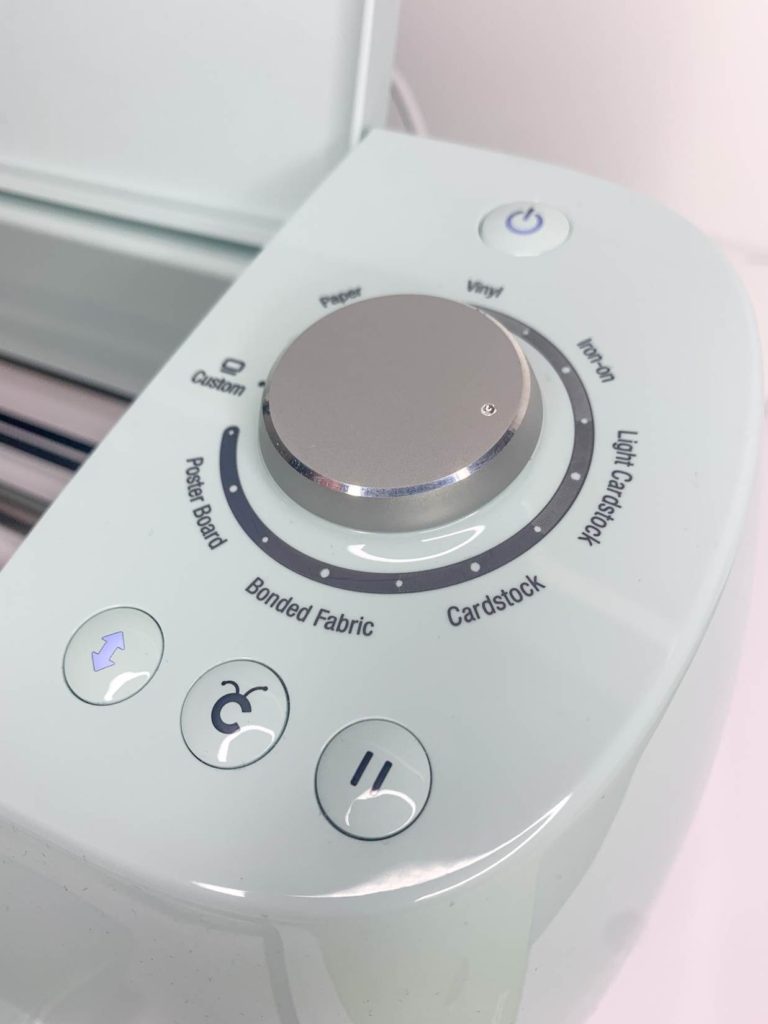
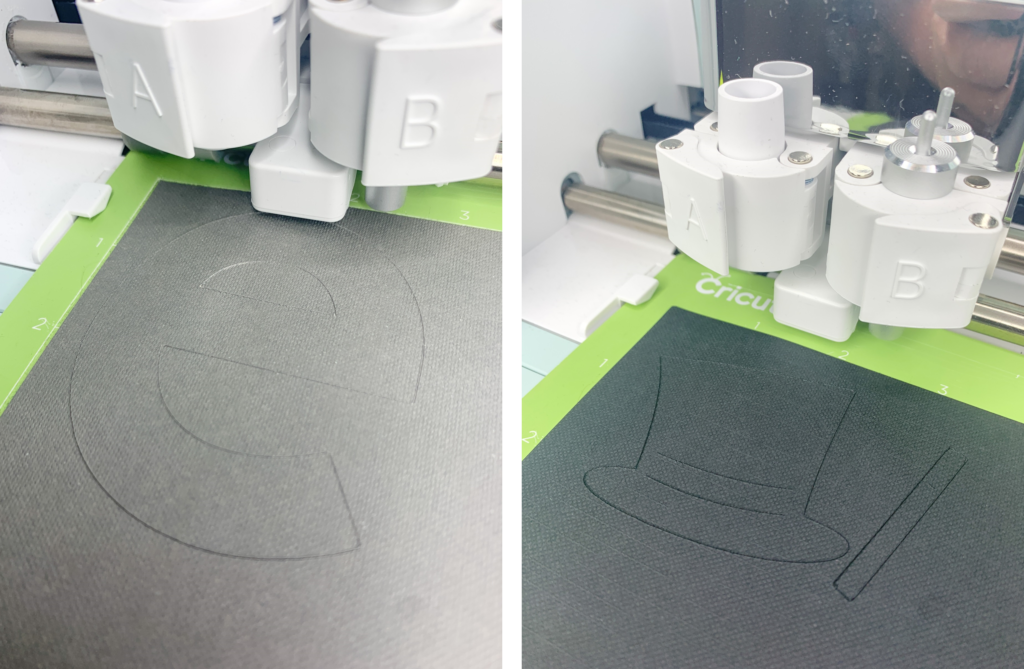
Before you begin cutting, you will want to be sure that you set your Cricut Explore Air 2 material settings to Light Cardstock as shown below. Then you can begin cutting! Make sure to pay attention to which piece of your project is cutting so that you can change out the colored cardstock you’d like to use and vary the colors!
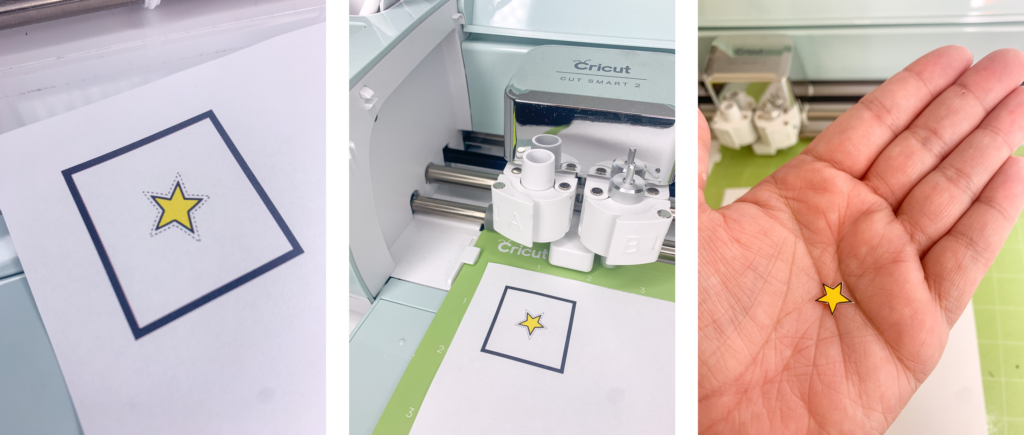
The star will require you to use the Cricut Print and Cut feature! This feature is such a time savor because it does all of the hard work of cutting small things for you! Imagine having to cut this small of a star by hand and with precision? I’ll leave that work up to my Cricut Explore Air 2!
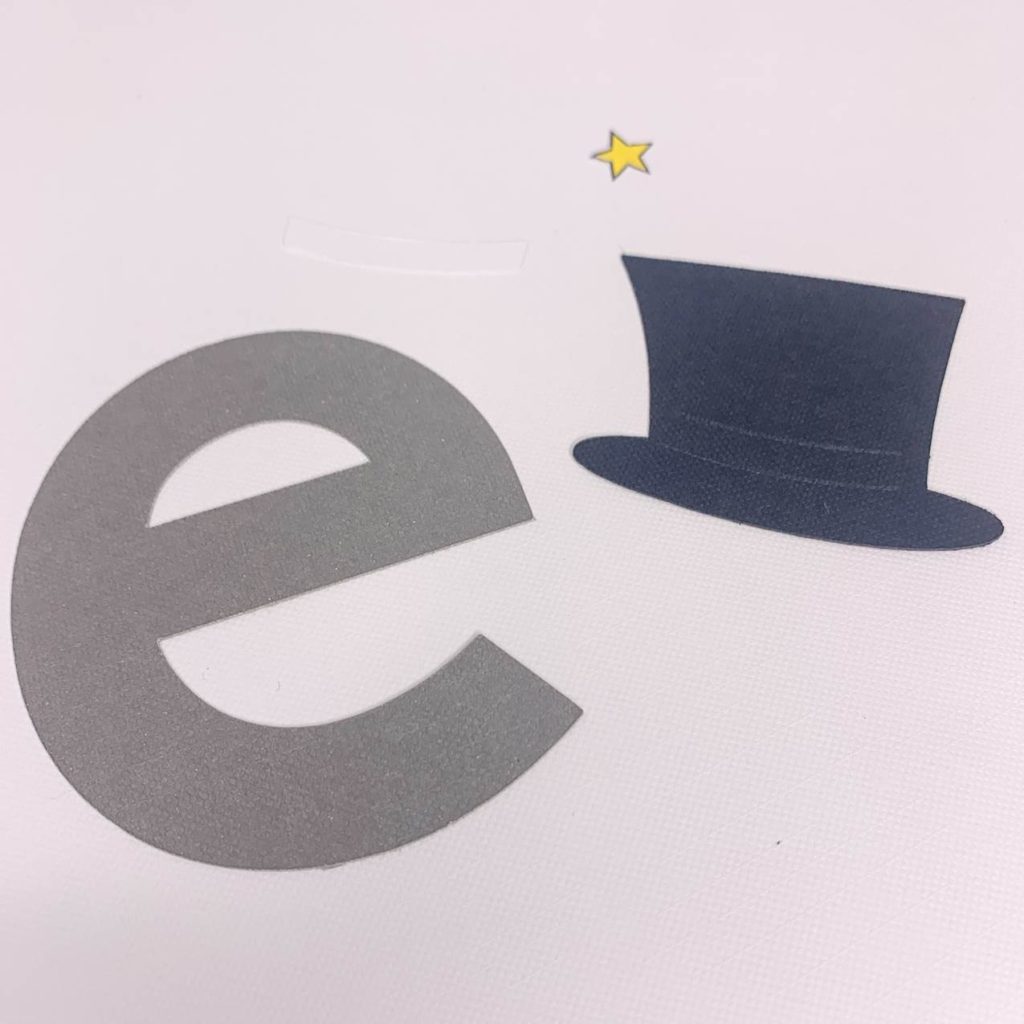
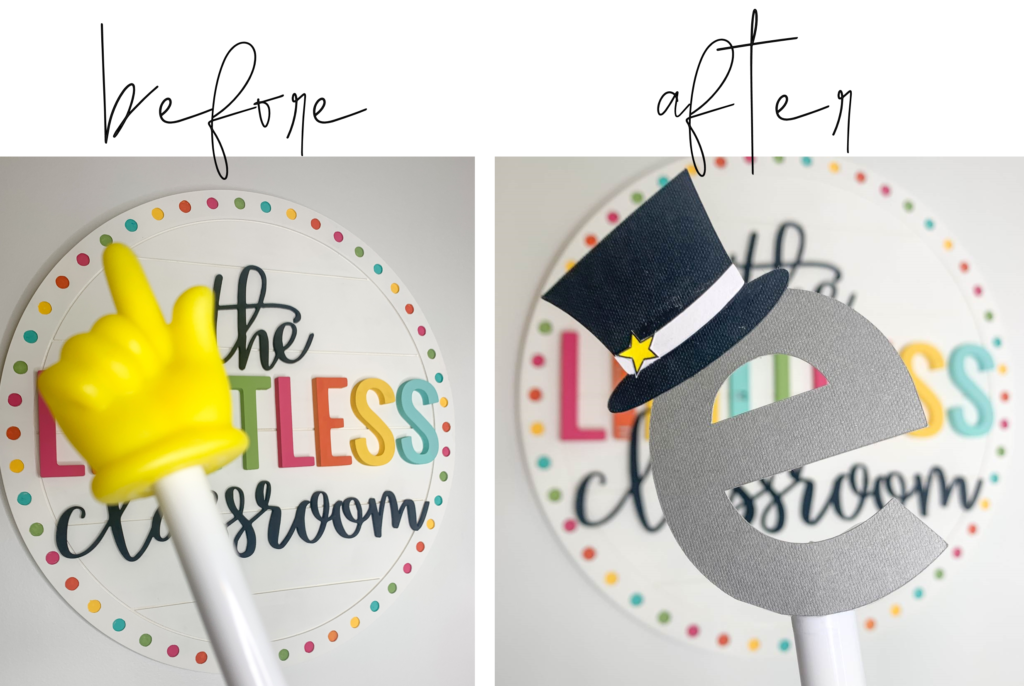
Now that all of your pieces are cut you can assemble it! The last step I did was take an older pointer from my house, pop the top off, and tape my MAGIC E to it! You can use a ruler as your wand, a twig from your yard, or any other creative item you can find! Not only is this educational project quick and easy, but it will be a great tool for your child/students to use when working on the “Magic E Rule.”
For more fun ideas on how to incorporate your Cricut into decor/items for your classroom and at home, follow me over on Instagram @thelimitlessclassroom
