This is a sponsored post written by me on behalf of Cricut. All opinions are 100% mine.
I am so honored to be teaming up with Cricut and their efforts to support the Blue Ribbon Project. The Blue Ribbon Project is a 100% volunteer 501(c)(3) non-profit community organization committed to both the prevention of Child Abuse and Neglect as well being a support network for survivors of Child Abuse, Foster Care, and Child Sexual Assault. The Blue Ribbon Project has a special program called “Backpacks of Love” which is focused on improving the condition of a child entering foster care. When most children enter Foster Care, it’s an emergency situation. Children can be taken from their homes with as little as the clothes they have on their backs. To add insult to injury, the few items these children have are often thrown in trash bags. There is absolutely no reason a child’s belongings should be in a trash bag. This is where the Blue Ribbon Project and Cricut partners are stepping in to help!
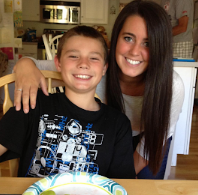
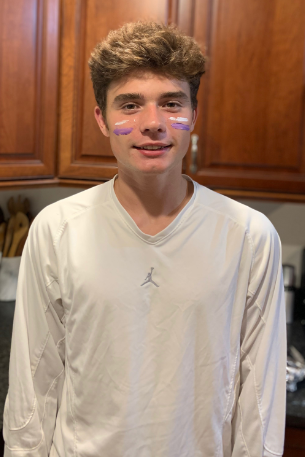
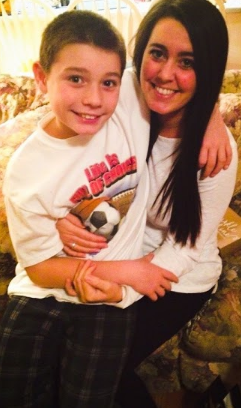
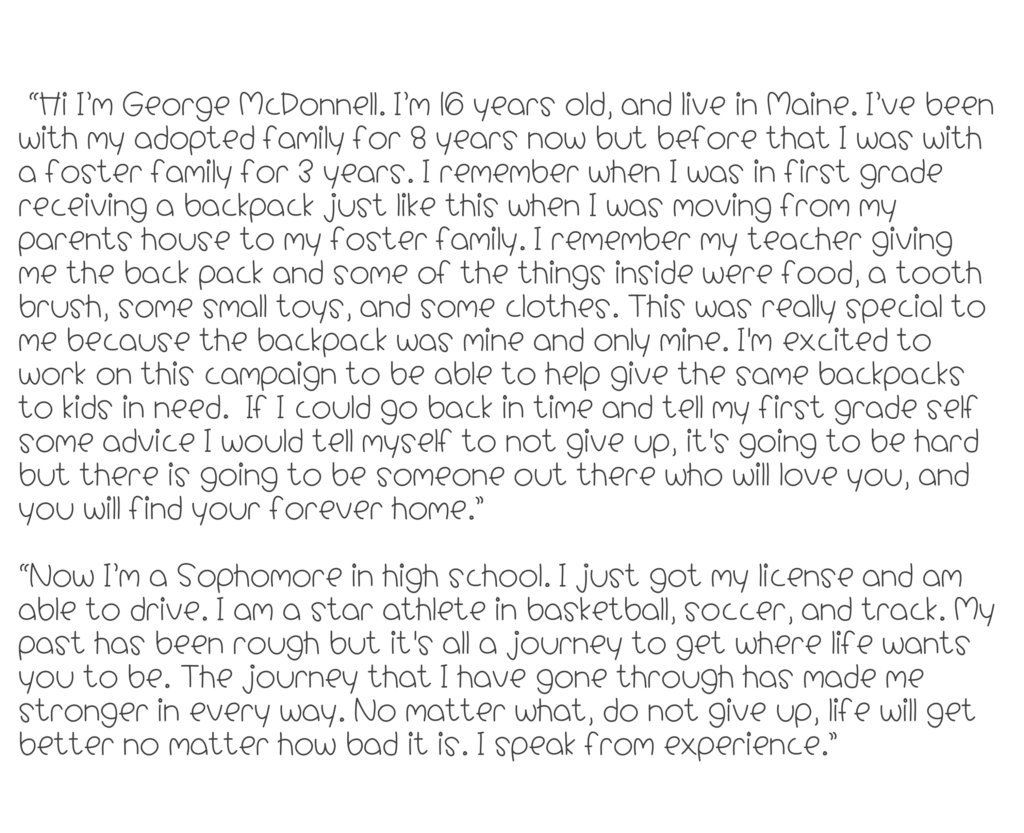
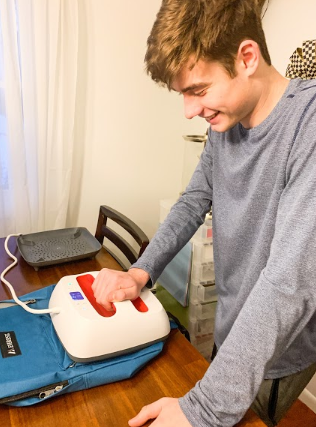
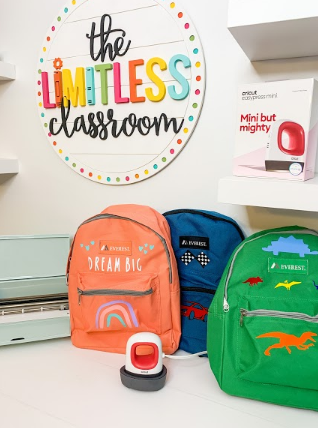
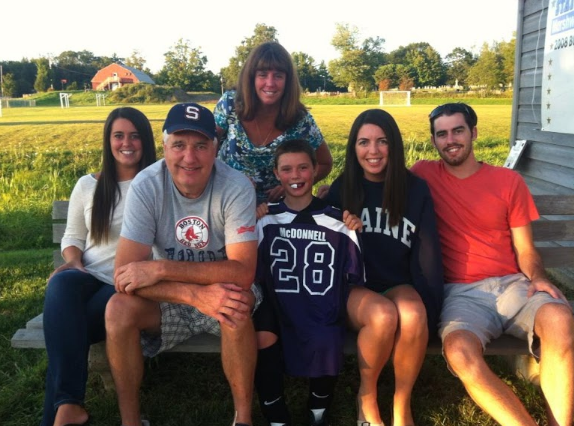
I teamed up with Cricut to create personalized backpacks for children entering Foster care and proving them with essential necessities. Each backpack is designed to be gender and very age specific. These backpacks include such things as a toothbrush, toothpaste, hairbrush, children’s soap/body wash, children’s shampoo, changes of clothing for the child’s age, personal clothing (underwear, socks, pajamas), and age appropriate books and toys. These personalized backpacks will not only provide a way for these children to carry their precious belongings, but will hopefully bring them comfort during a very difficult transition. I also had an extremely SPECIAL helper in creating these beautiful backpacks… my younger brother George. This project was so special for us to work on together because George actually spent three years of his early childhood in Foster Care.
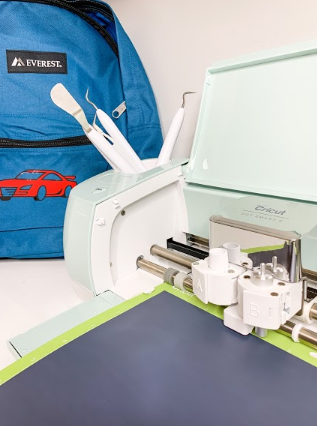
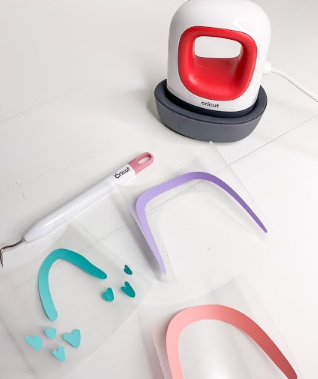
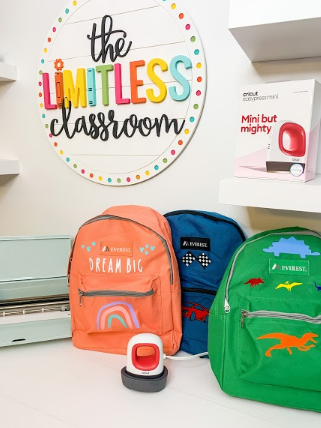
George and I had a wonderful time designing and creating these backpacks together. We wanted to share with you a “how to” so you can create your own at home! Remember, we can all be a part of The Blue Ribbon Project and make these backpacks for kids in need. First you will want to get out the following Cricut supplies!


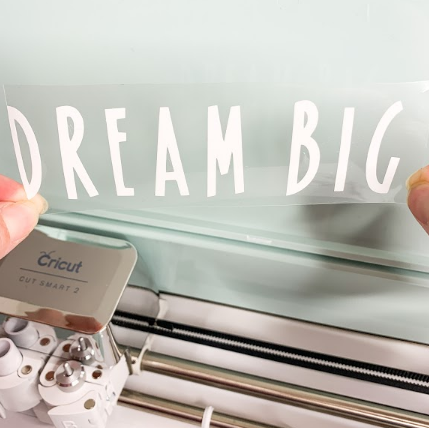
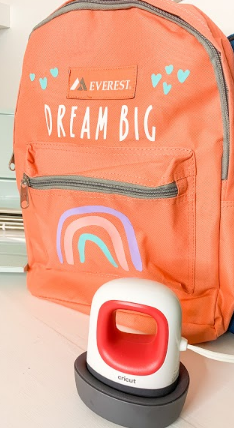
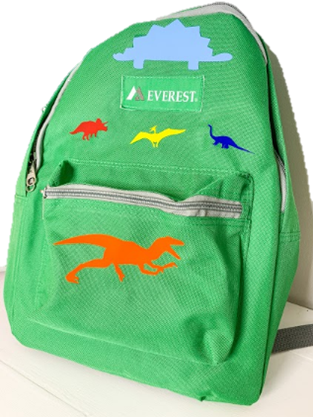
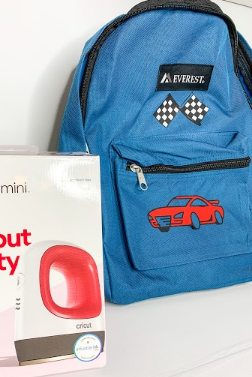
To begin we were assigned the gender and ages of the children who needed the backpacks. We received word that our backpacks would be going to a young boy age 4-5 years old and would include THIS LIST of necessities. A backpack was also needed for a young girl age 9-10 including THIS LIST of necessities. George had the great idea of using a race-car and dinosaurs for the boy backpacks, and I thought an inspiring rainbow along with the words DREAM would be perfect for the girl backpack. Next we logged into the Cricut Design Space to find the images we wanted to use. Cricut recently added 1,000 new images to their Design Space so there were so many amazing options to choose from! Once we picked our designs, we made sure to measure the backpacks carefully to determine the size we wanted for each image. We decided the front pocket of the backpacks was large enough to hold a design 5″ inches long and 3″ inches tall. We decided to use the EasyPress 2 for these images, and used the EasyPress Mini for smaller the smaller designs.
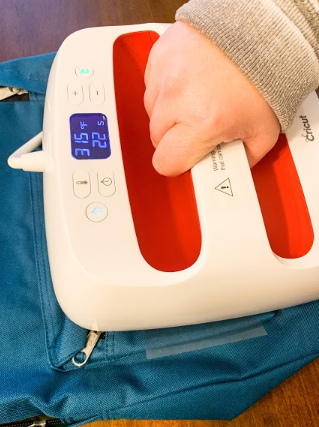
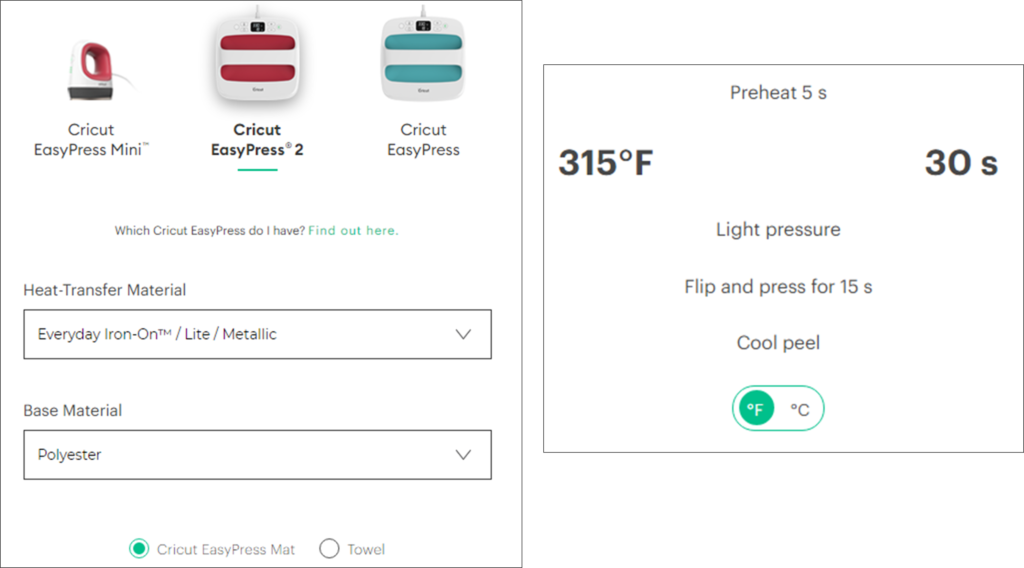
One thing that I love about Cricut is they make it SO easy to understand exactly how to use their machines. By heading to Cricut’s Heat Guide you can input which machine you’re using, the type of heat transfer material you are crafting with (in this case the Everyday Iron-On), and the base material (the backpacks we used were 100% Polyester) in order to find the exact heat transfer directions to follow. Once we found the temperature settings we needed, we were ready to go!
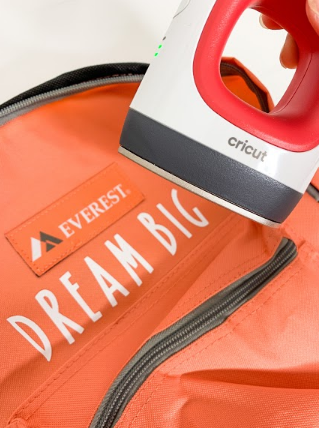
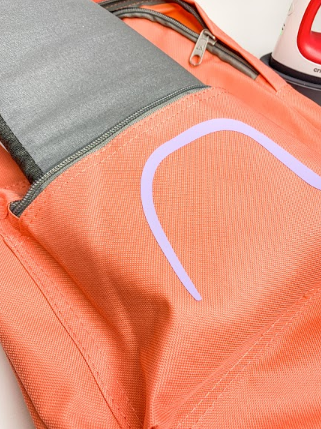
It’s very important to make sure that you follow Cricut’s Heat Guides as leaving the vinyl on for just a few extra seconds can cause it to be quite challenging to correctly apply the vinyl to the backpacks. As we got into our groove we had so much fun trying out different images, text options, and sizing variations. Here is a close up look at the Dream Big Rainbow backpack! A quick tip: when working with the large front pocket of the backpack, I suggest you fold the EasyPress Mat in half and tuck it right inside the backpack pocket! Remember, the EasyPress Mat is designed to direct heat to your transfer, removes moisture, and protect your workspace for flawless heat-transfer results.
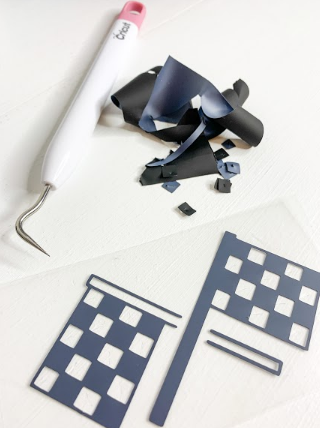
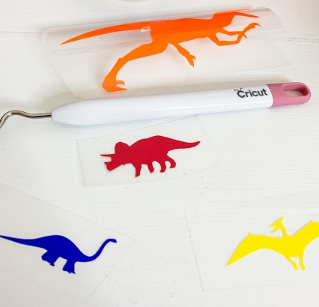
Next up, the dinosaur backpack! This one was a bit more of a challenge because the detailing of the dinosaurs is quite small. This was the perfect time to take out the EasyPress Mini! Aside from looking absolutely adorable with its tiny frame, the EasyPress Mini makes DIYing small areas a breeze! It truly is the perfect complement to Cricut EasyPress 2!The hand-friendly grip allows you to easily take on curved surfaces as well as hard-to-reach spots! After carefully weeding the vinyl of each cut out, we were ready to put the EasyPress Mini to the test!
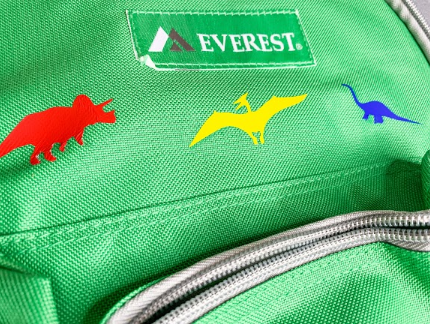
We were so pleased with how all of the backpacks turned out, and truly enjoyed working on such a special project together near and dear to our hearts. My brother George is such an inspiration for how he has overcome so much in his life, while always keeping a positive outlook and great attitude. He has worked hard, grown into a caring and compassionate young man who has such a bright future ahead of him. Our hope is that these backpacks will help a child in need feel supported through their darkest times, just as he felt when he was little. If you would like to create a “Backpack of Love” for a child in need please reach out to The Blue Ribbon Project, as they are working hard to do incredible things for children in need. We are so honored to have been a part of this project, and look forward to working with both The Blue Ribbon Project and Cricut in the future.
